What do you do with just a TINY amount of clay left for the year? Make kindergarten pinch pots of course!! Tired of plain old pinch pots, (as I'm sure we all are!) I decided to turn them into 'bird nests'. The whole process took 3 days.

On the first day I discussed where clay comes from, how it gets hard or soft depending on the moisture, how it gets its color, and how to manipulate it. I had a 2-slide power point with different things artists do with clay and how my students can manipulate it by pinching, pulling, squeezing, smushing, twisting, and so forth. As a class, at my large demo table we all practiced using our hands and arms to 'explore' the clay. I refrained from using the word play, as I didn't want the students to get the wrong idea about what do to with it. I also explained to them that we don't hit, slap, smack, or throw the clay at any time. Thankfully,I had few if any students handle the clay improperly. For the remainder of the period students sat at their tables and explored the different things they could make with clay.
On the second day we had a more formal lesson where I demonstrated how to wedge the clay, create a pinch pot, and then add texture to the outside by using different texture stamps around the pinch pot, and if large enough, inside them.
Day three came about 2 weeks later, after the clay had dried and been fired. My first 3 classes I had glaze their pots with green and brown stroke n coat. When I ran out of glaze (it was the second to last week of school) I had my remaining 3 classes use brown and green tempera. Both came out cute.
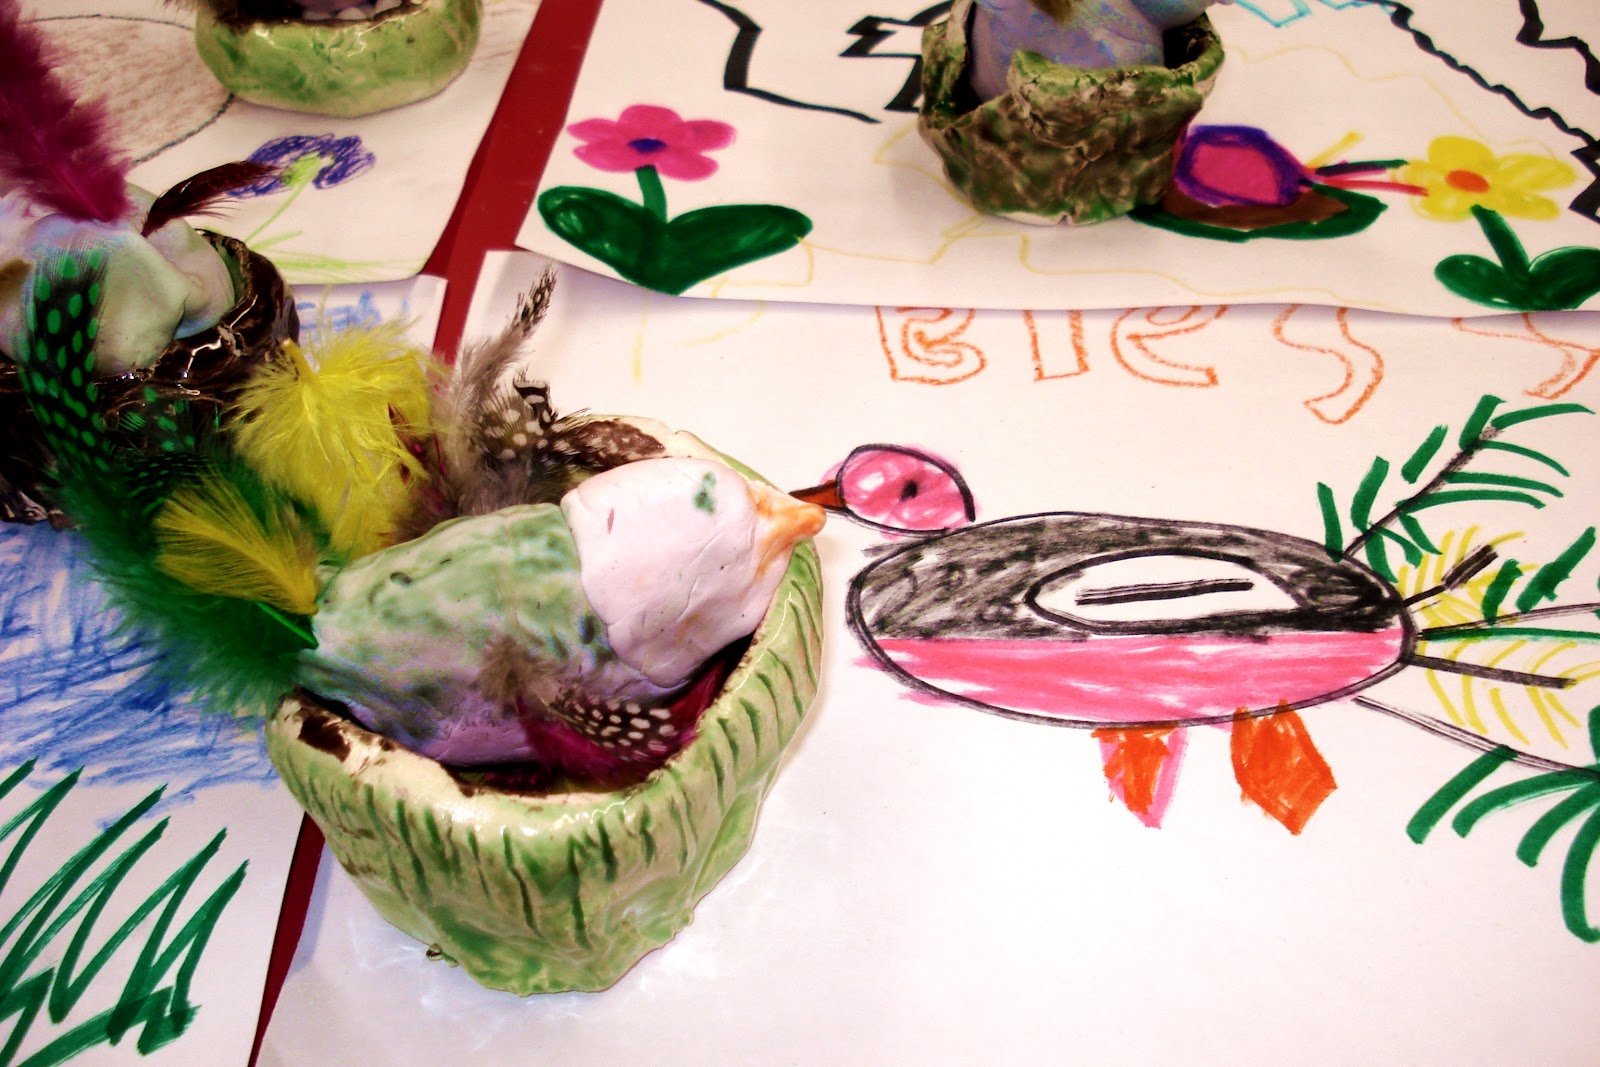
The week or so between the clay drying and being fired I had my students
create Model Magic birds, I would've liked them to create their birds
out of clay but I didn't have enough. In the end it worked out well, I
was able to have the students add feathers and pipe cleaners which
wouldn't have happened with traditional clay. We made the birds by using
1 package of model magic colored with Mr. Sketch to alter the color.
Students rolled the package into 1 large and 1 small ball of clay and
pinched both balls to make a large tail and a tiny pinched beak. The
had and tail were attached and feathers and pipe cleaners were attached
to the tail and sides of the body.
As an extension activity for
students that finished early, I gave each student a piece of 9x12"
white paper and markers and had them do an observational drawing of
their bird and nest. They can out adorable. It was a good end of year
project and it was done just in time for fathers day!


No comments:
Post a Comment