Wednesday, March 30, 2016

4th Grade Jellyfish


I just love these jellies!!!

I taught and posted this lesson 3 years ago and originally found the project from the blog "Create Art with ME".  the only main difference this time around was that I made the paper 16x20 instead of 12x18".

Generally speaking, one of my main goals as an art teacher isn't to have my students create artwork that is "pretty".  For me, the process is just as, if not more, important than the product. But I'd also be lying if I said it wasn't important that teachers have artwork the want to display in their rooms, that parents want to hang in their homes (besides on the fridge), and that students are proud to show off.  Essentially, this boils down to having the conventional "pretty" or better yet, "beautiful" art. This project is one of those...sort of.


 It's fairly light on content and doesn't require a lot of higher order thinking, but does teach certain art vital art concepts such as value, tints, shades, opacity and transparency, and also although simple in nature, gives the kids the chance to work with two of the most fun materials in art: paint and chalk pastels.

It's the type of project where everyone ends up happy, and quite frankly, it's good to have a few projects like these in your repertoire, especially now that we're coming up of Spring Open house nights!

Here's how the project went down (each period is 40 minutes)
Day 1-Drawing the background by separating the white paper into about 7 shapes using either wavy , curving,  or straight lines and/or concentric circles. The paper can be held horizontal or vertical. After a demonstartion, the kids start painting tints of blue.
Day 2- Demonstrate mixing shades of blue and have the students complete the painting portion of the lesson.
Day 3- Practice day-Demonstrate how to draw jellyfish and color, keeping them semi-transparent, and then have the kids practice drawing and coloring with the chalks.
Day 4-5 Work on the good copy, drawing sand/rock for the bottom of the ocean  adding details like coral, seaweed, other types of underwater creatures, and at least 4 jellyfish.

The project could also tie in with something science based as it makes for a great jumping off point to learn about underwater sea life and jellyfish.  It sparked a few questions from my students I had to google to find the answer to!


Friday, March 25, 2016

Thiebuad Aerial Landscapes Grade 2 and 3

Most of us know Wayne Thiebaud for his delicious dessert paintings. You'd be hard-pressed to find an art teacher who hasn't, at some point, done some adorable lesson on creating colorful confectionaries. But enough with the aeonomonpea, and onto a different side of Wayne Thiebaud. 

I came across these landscapes in an article I found online while researching his work for what else, but a project on cupcakes. I love the idea of teaching children landscapes because of their versatility. 
There are so many elements and principles of art and media that you can tie into the subject matter that landscapes have become a pretty regular thing within my art curriculum. However, wHen I saw these, I thought it was a brilliant twist on the traditional landscape because of the aerial perpective Thiebaud used. 

Here is the blopost where I first came across the landscapes:
 

The project I came up with to go along with Wayne Thiebaud's landscapes was a mixed media using  glue, chalk pastels and tempera paint. The whole project took about 5-40 minutes periods. I did this lesson on 18 x 20" and 16 x 20" purple and green construction paper with both my second and third graders. My second graders got the smaller purple paper.


For this project I also "flipped" my classroom. The conventional definition of a flipped classroom would be where a teacher would present the contents of the days lesson via a video source at home to the students as part of their "homework", and then that assignment would be reviewed or re-taught back in class as a way to correct or adjust any misunderstandings or clarify any confusion. The idea behind it being that the students would come in with the baselevel understanding of what they were learning for the day and you could have a more in-depth and successful learning experience in the classroom haven't already reviewed the initial information. 
In the context of an elementary art room, The traditional idea of a flipped classroom isn't really possible, so in a context that works for me, a flipped classroom would be where I use video demonstrations instead of actual demonstrations to present the content that my students are going to be doing for the period. This modified flipping is amazingly successful and here's why:

A standard demonstration:
1. All the students in the class are squished around one table and most of the time are jockeying for a "choice" spot close to the teacher or materials. (I mean think about the amount of times you've had to say to the students "don't run, walk around the table").
2. Once all the students are around the demonstration area because of the close proximity to one another you get students who were standing together who shouldn't be together and students were instantly distracted by one another. Oh, and then thats usually followed up with talking. 
3. The majority of your students are watching the demonstration sideways or upside down.
4. If you forget something that should've been included in the demonstration after you've let the kids go back to their seats from the demo table, whatver you meant to say but forgot to is pretty much a lost cause.
5. Many times you feel like you have to rush through the demo or can't complete a whole step of it while showing it to the children because you're on a strict time frame when you have them all in a situation where there huddled around the demo table under the above four conditions. 
6. And before I forget, it's horribly annoying to be interrupted while speaking and/or losing your train of thought because someone's calling out over you while you're trying to teach them something.

A video demonstration:
1.  Everyone gets a great view.
2. You don't waste any time transitioning.
3. Being interrupted during the video demo is more frustrating for the students then it is for you. However, when the children are watching a video the amount of interruptions seems to go down exponentially.
4.  You don't have to worry about not having the correct materials handy during the demo or forgetting to mention something because a cell phone is incredibly easy to edit videos with.
5.You can patiently and methodically demonstrate all the steps you want the children to see because of the handy time lapse video feature, or simple careful planning and editing of your video before you show it.


Using mostly video demonstrations, here's how the lesson broke down:
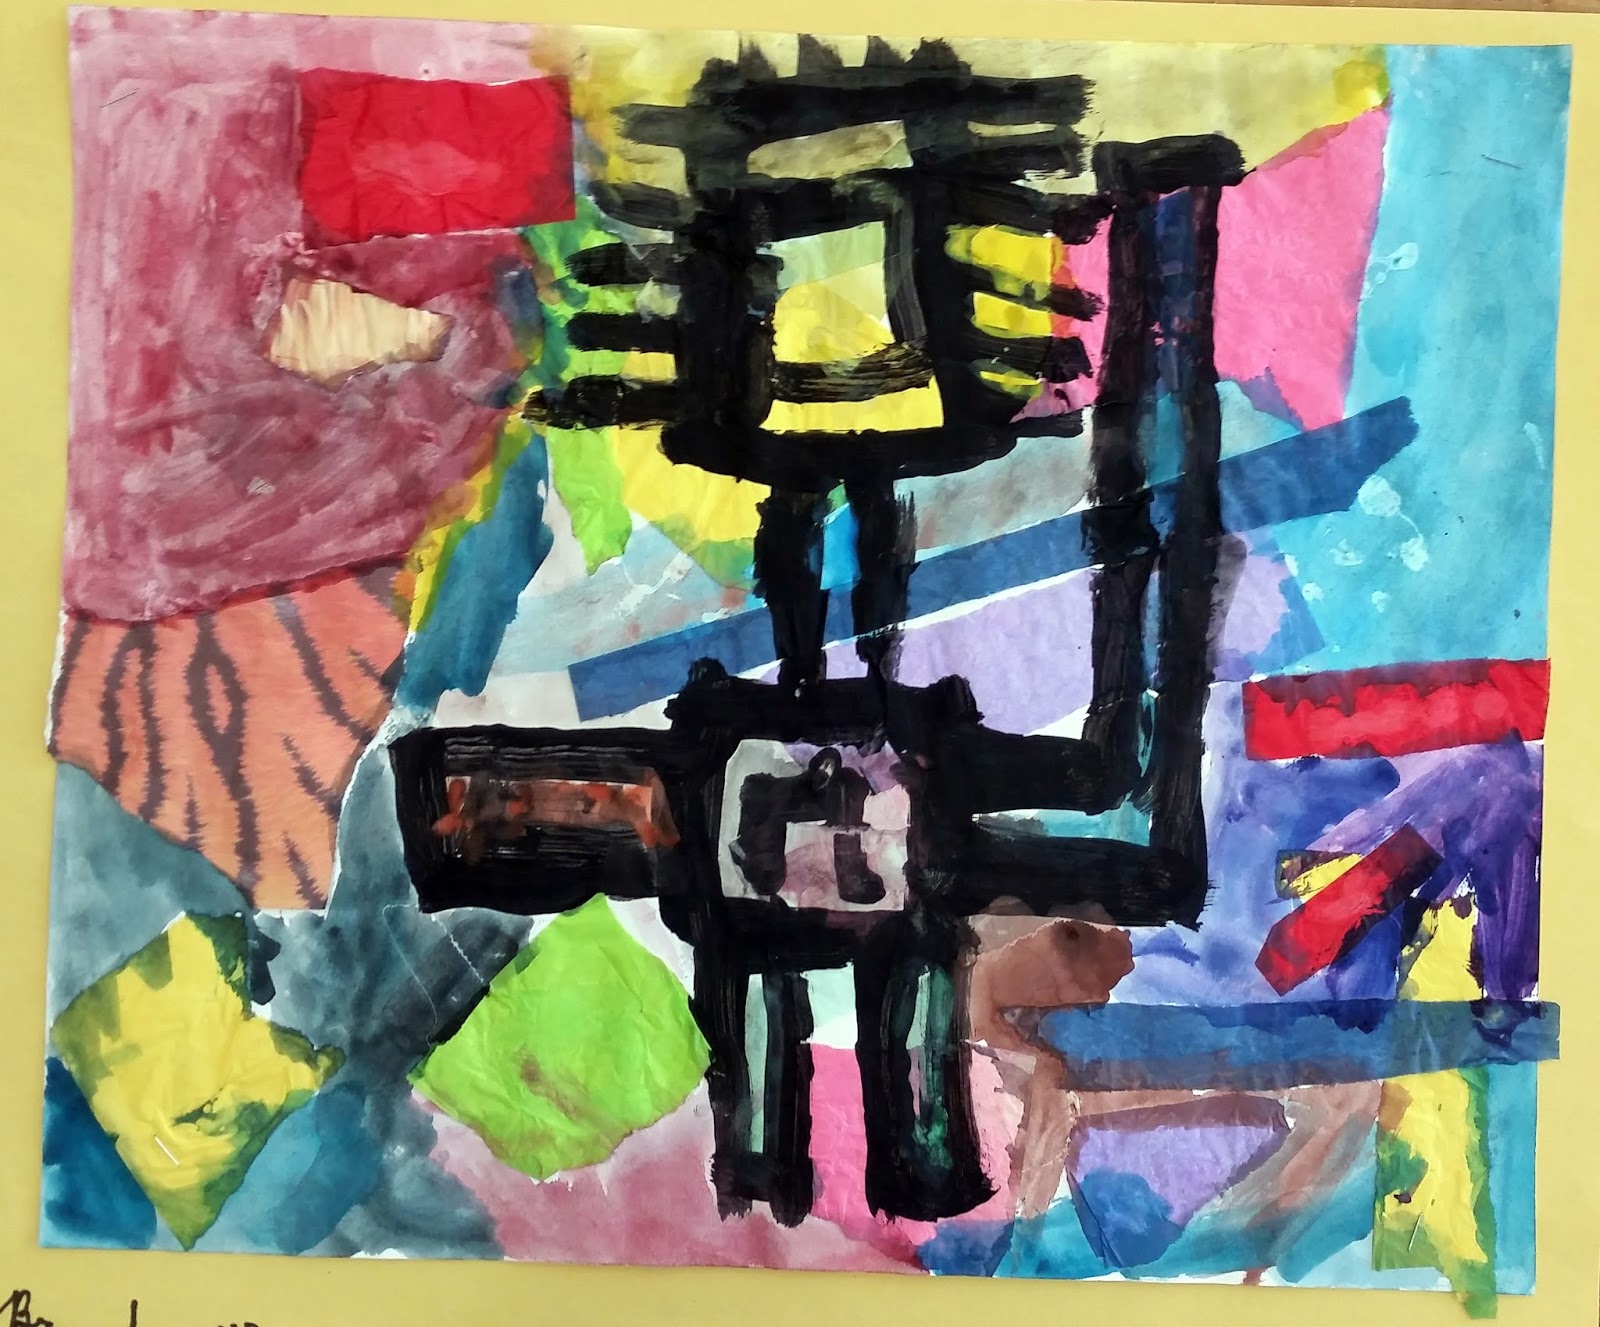
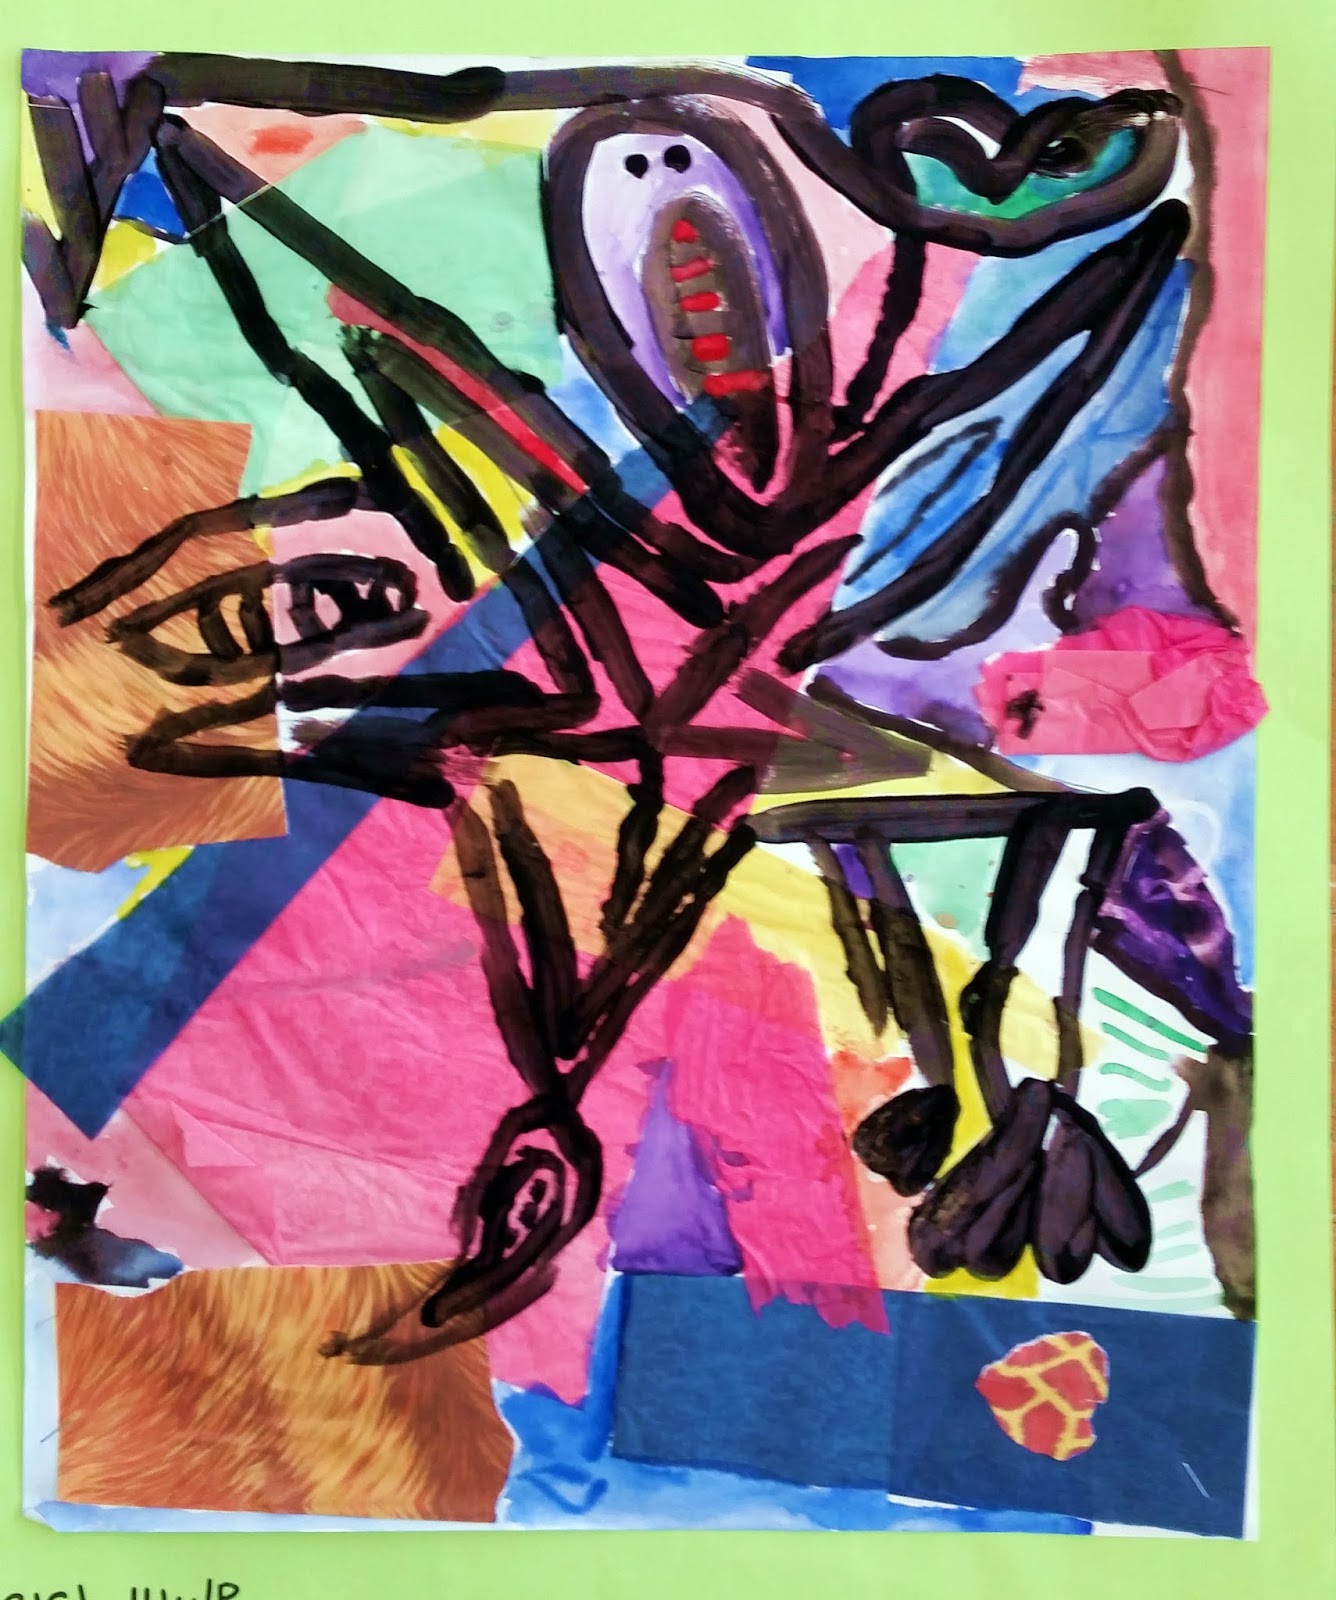
On the first day I talked about and showed some images of Thiebaud's landscapes and then had the students fish through a whole bunch of color printouts with both photographs of Ariel landscapes and examples of the artsits aerial landscape paintings. The children chose one that they liked and used it as inspiration to draw the shapes for their own landscape. On day two we learned a little bit more about the life and work of Wayne Thiebaud and then I had the children outline over their pencil with Elmers glue to create a raised surface. On day three I demonstrated how to use chalk pastels and how each shape had to have a minimum of two colors in it and the children went to work. They worked with the chalk for another perod or two after that. Somewhere around day five I video demo out how to add texture by creating designs in paint on top of the chalk pastels. This last stop was something I thought of at the very end of the project after the children had already done all the chalk pastels. I felt like the lesson didn't look "finished "enough and as a last ditch effort to spruce up the project I decided to take a chance and use paint on top of the chalk. I can't tell you how glad I am that I took the chance because the paint texture on top of the chalk is really what makes the lesson come to life. 
I think you'll agree that the finished results are pretty fabulous!


Kinder Texture Burgers


I was looking for a lesson that would introduce texture to my kindergarten students and be simple, open ended, and fun. After looking around awhile I came across a few sites that had projects where imaginary burgers were stuffed with all sorts of uniquely textured  and interesting items. The humor and whimsy of the projects really appealed to me, so I figured I'd give it a try. 
 
 I used the food sculptures of Clase Oldenberg as inspiration and the kiddos examined some examples and discussed the similarities and differences of the various textures they observed.  I always feel like viewing and discussing art with kindergartners is like pulling teeth, but they seemed to get a big kick out of Oldenburg's work.  Does anyone else feel like it's unusually hard to get kinders focused, observing and critically thinking about art? Do any of you have any good tips or strategies you use with the little ones for art appreciation? If so, I 'd love you to share em'!

 
The project took 3-40 minute art periods. Day 1 was viewing the work and discussing texture. I also passed out some objects with texture for the kids to feel to help them understand the concept. Then we spent the rest of the period making the table (which was pre-cut to fit the paper), the plate, and the bun, which the children drew, cut and glued themselves.
On day 2 I demonstrated how to collage on about half the items. It's important to show the kids how to glue the items in a vertical manner one on top of the other, otherwise they have the tendency to start scattering everything all over the page which takes away from the humor of the burger. 
Day 3 was the same as day 2 , with new items and the additional step of going back and checking the previously glued pieces to make sure that everything was stuck down thoroughly. It also allows the students that were absent on previous days time to catch up. 

Here are some of the items that we either added, or that I had brainstormed for adding to the burgers:
Ketchup-red felt, thick red string, red fabric 
Mustard-yellow pipe cleaner, yellow felt
Onion-purple, pink or white ribbon, or paper pre-cut into small swirls
Buns/Meat -corrugated cardboard
Olives-yellow and green foam shapes
Lettuce-green colored crumpled or twisted tissue paper
Seads, pasta
Shredded Lettuce/ Onion/Coleslaw-different colored raffia

Bon apetit! 


Thursday, March 24, 2016

5th Grade Stellar Planets


These planets look as great in person as they do in these photos!
There are a few versions of this project out there, so I don't get any points for originality, but regardless, it's a great project and more importantly, the kids really seemed to like creating them. 


The project took about 5-40 minute periods. On day 1 I showed everyone how to create the "waves" and blend them in an upward facing direction. On day 2 I set up a splatter paint station and demo'd how to start shading the planets. I flipped this lesson and used mostly video demo's which was incredibly useful because it took the kids 3 perios to complete the planets. So instead of having to demo the shading every period for my 5-5th grade groups, I just replayed the video and they saved on work and transition time. They had to make 5 or more planets. On the final day they cut and glued their planets, making sure all the shadows were on the same side. We discussed light sources and I explained that on a 2D surface, having a consistent light source would make their art look better even though they pointed out to me that in space there would most likely be multiple light sources ah, my 5th graders always thinkin!).


Saturday, March 5, 2016

Oaxacan Turtles


This project came out so adorable I had to blog about it! I didn't teach this one though, this came from my colleague who teaches with me at my school. She did it with her first graders. The whole project took about 3 to 4-40 minute art periods. The turtles themselves were created using white low fire Amaco clay and instead of using slip to attach the pieces, I shared a great tip that I got from Cassie Stephens blog using small cups of water and toothbrushes. My colleague tried using the toothbrushes and it worked really well. The first batch of turtles were glazed with Mayco Stroke &  Coat glazes, but the second batch were simply painted with tempera. Both the glaze and the Tempra work equally well on the turtles because of the designs that were painted over them. The finishing details were added using acrylic paint markers.


Tuesday, March 1, 2016

2nd Grade Wayne Thiebaud Unit Part 2-2D Mile High Value Ice Cream Cones


The second project based on Wayne Thiebaud was created by giving the kids a white piece of 12 x 24" paper and showing them a few options for how to draw an ice cream scoop. I use the drawing portion as an opportunity for some differentiation by showing the children some options that included a simple half circle shape all the way to a more complicated melt,y drippy type of ice cream scoop. The differentiation was really helpful as my second graders are really diverse group.
After they drew their scoops we discussed value and I showed them how to create tints and shades by using black, white, and color of their choosing. The second whole period of art was used to paint the scoops.
 During the third day, I gave out a large piece of white paper for the background. The students were told to divide the paper at least three times and fill in the three shapes with at least three different designs in oil pastel. While this was happening I set up a center in the back of the room where students used cardboard and metallic paints to print patterns on brown paper which would later become their cones. On the fourth day of the project, the students cut and assembled all their pieces onto their background and filled any large empty white spaces leftover on their background. On the last day, the students used watercolor paints over the oil pastels to complete the work

4th Grade Henry Moore Unit-Part 2: Mixed Media Abstract Figures


I was a little apprehensive when beginning this lesson because of just how much higher order thinking it required. Not that my students aren't stellar, because they are, but I thought it might be too difficult a project for them to handle. But boy am I glad I gave it a try because the results were fantastic. After completing the Clay Henry Moore project, I showed the students a few examples of Moore's figure sketches and then the students took turns posing and sketching one another. They really got a big kick out of posing and drawing one another! After doing a few preliminary sketches and after I showed them how to break the body down into basic ovals or rectangular shapes, they then took their sketches and chose the one they liked the best to abstract. I demonstrated how to take the sketch and break it down into even more basic shapes and then add other features to make it look less like a figure and more interesting as shapes that create positive and negative space. Before drawing their finished abstract figure, I had them create a backing of collaged tissue paper and then watercolor.  Lastly, the students painted their final drawing larger using black temperature over the watercolor and collage background.